DIY aircon maintenance goes a long way when done correctly between the annual or bi-annual professional servicing schedules.
Mainly, simple routine checks keep your AC running smoothly, help prevent expensive repairs, save on energy bills, and extend your system’s lifespan.
Therefore, in this post, we will discuss how to safely handle basic air conditioning maintenance yourself and improve your AC’s performance year-round.
Step-by-Step DIY Aircon Maintenance
1. Ensure Safety By Turning Off Power and Then Inspecting Your AC
Turn off the power at the main breaker for both the indoor and outdoor units.
With the power off, check both units. Look for loose wires, greasy spots indicating refrigerant leaks, or anything blocking airflow. If you spot real damage, stop and call a technician.
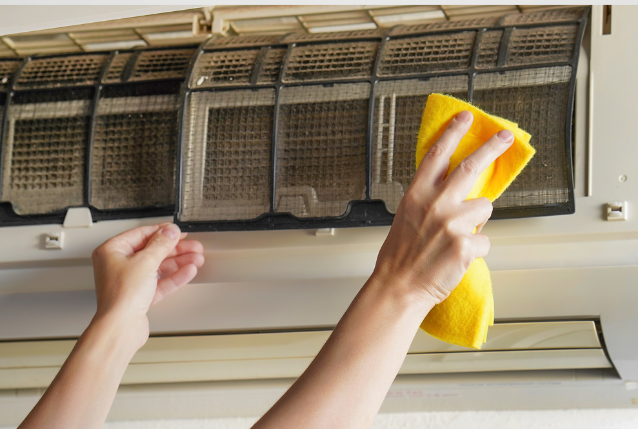
2. Clean and Change the Filter
A clogged filter makes your system work too hard and consumes more energy. Therefore, find the filter in the unit, clean it gently, let it dry, and put it back. You should clean the filter at least once a month.
Importantly, if the filter has been in use for 3 to 6 months, and you can’t see through it when you hold it up to the light, then it’s time for a new one. Notably, always ensure you use the right size.
3. Keep Drain Line Flowing
Usually, your AC pulls moisture from the air, and that water needs an exit. Notably, the drain line is not properly maintained, the moisture can promote the growth of algae and mold, clogging the drain line and causing water backups.
To prevent algae and mold, find the access point, usually near the indoor unit, remove the cap, and pour in a cup of distilled white vinegar. If the line’s already clogged, use a vacuum at the outdoor end for a minute to clear it out.
4. Clear the Area Around the Outdoor Condenser
Your outdoor unit needs breathing room. Therefore, keep at least 2 feet around it clear by removing plants, leaves, and any obstructions, and pull out any large debris by hand.
Importantly, spray a gentle stream from your garden hose to the coils from the inside out to remove dirt. Mainly, don’t use a pressure washer as it can wreck the fins. While at it, if you see bent fins, get a fin comb and straighten them out to keep air flowing.
5. Dust Off the Indoor Evaporator Coil
Use a soft brush to remove dust from the evaporator coil, which sits behind a screwed panel inside the air handler.
Importantly, for heavier grime, spray on a no-rinse foam cleaner as it’ll break down the dirt and drains away on its own.
6. Check the Thermostat
Make sure the thermostat is set to “Cool” and actually works.
Importantly, if you’re swapping it out, consider getting a programmable model to save energy.
7. Test the System
Switch the breaker back on and start the AC. Listen for weird sounds such as grinding or squealing, which means trouble.
Importantly, let the air conditioner run through a full cycle. Check for strong, cold airflow from every vent, and make sure the outdoor fan spins easily. Also, look for water dripping from the drain line which means it’s clearing moisture properly.
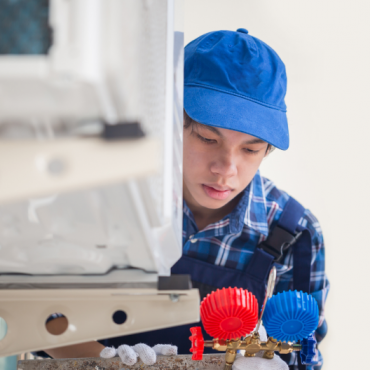
When to Call in the Professional
DIY care can prevent many issues, but some problems require a professional. Mainly, contact an AC services company right away if you notice:
- Leaking refrigerant or no cool air
- Breakers that keep tripping or other electrical problems
- Compressor or motor problems
- Ice is building up on coils or pipes.
- Strange or persistent noises or smells
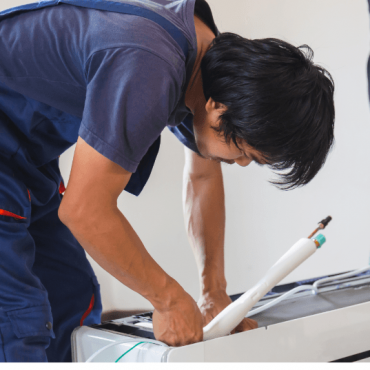
Conclusion
While DIY maintenance keeps your AC efficient and reliable, don’t skip the yearly professional service. Usually, during the visits, the technicians check refrigerant levels, inspect all wiring, and inspect parts you can’t reach.
Therefore, tackle only what you can, and let the experts handle the rest. That way, you can ensure your AC unit runs efficiently all year-round without fail.
Add Comment